How to clean the hydration bladder
When we arrive from a training session or bike ride, the last thing we want to do is clean our bike, but we know that this can have very negative consequences on some components, so we have to get to work. Another accessory that we must pay attention to is the hydration bladder, this useful complement requires a careful hygiene, because otherwise it could lead to the appearance of fungus.
Tips for cleaning our hydration bladder

1.Just water
During our rides we usually alternate drinking water with other isotonic drinks. Well, our first advice is to reserve the hydration bladder only for the water, and to use a secondary bottle for the isotonic one. In this way you will avoid that the bag of hydration is impregnated with odors and flavors that are complicated to remove.

2.Freeze
RECOMENDADO
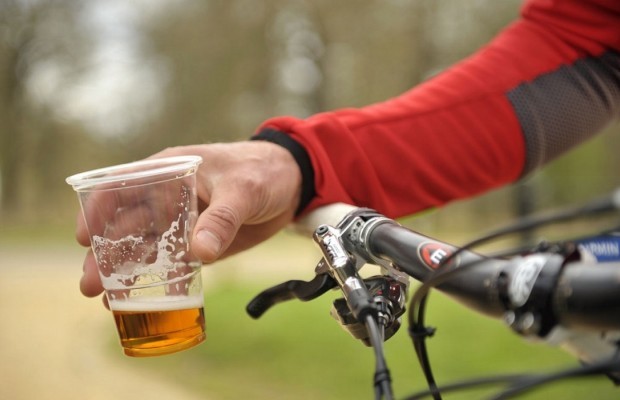
Benefits of not drinking a drop of alcohol
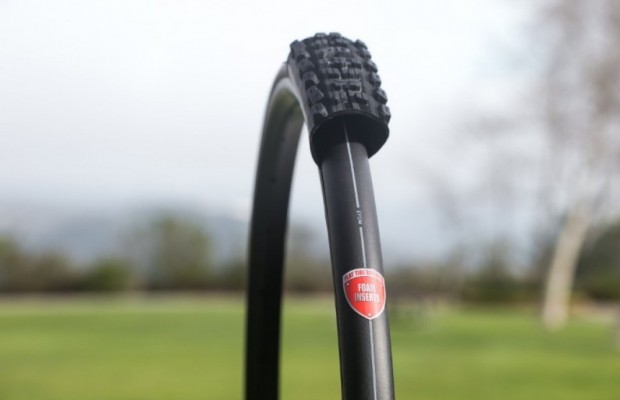
Puncture-proof SmartMousse for mountain bike, do you need it?

Peter Sagan is still the highest paid cyclist in 2020 : list of the 10 top cyclists who earn the most
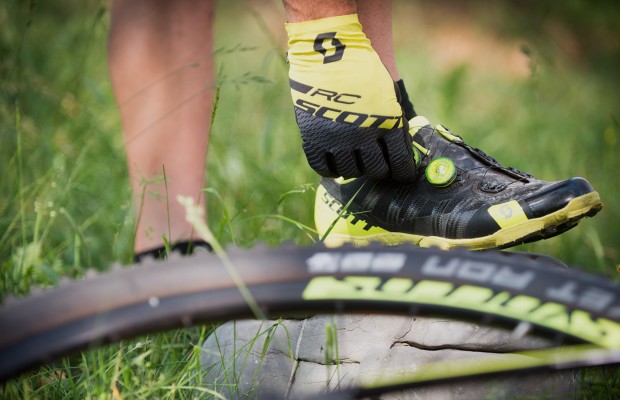
Tips for choosing cycling shoes and Mountain Bike shoes: size, model, sole...

Strava presents Routes, a tool to discover new itineraries
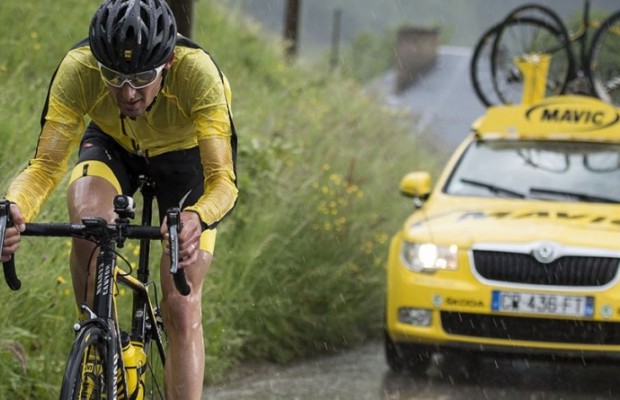
Mavic placed in receivership
This is one of the tricks I learned years ago that still works best. After having used the hydration bladder nobody feels like cleaning it thoroughly, so the best thing to do is to remove all the remaining water and put it directly in the freezer.This way we will be able to keep it safe from fungus until we can clean it properly. Pay attention, because when you take it out of the freezer, the water inside will have turned into ice and can break the bladder if we are not careful.

3.Water with bleach and lemon
Once we prepare to clean it properly, the ideal is to do it with abundant water where we can dilute the juice of half a lemon and a few drops of bleach. This way we will be able to disinfect it completely. After rubbing both inside and outside with this solution, we will return to rinse well with plenty of water.
Besides this homemade method that everyone can use, there are also some special pills that are valid for cleaning the bag.
4.Cleaning kit: buy or make a homemade one?
The brand that gives name to this type of hydration bladder, CamelBack, commercializes a cleaning kit that consists of a series of brushes that will allow you to access all the nooks and crannies of the bag, tube and mouthpiece. Of course, there are many shops that sell other similar kits and even lower prices.
And if you don't want to buy any of these, you can always make your own. For example, you can dry the bladder completely with a hanger and a cloth, and with some small brushes you can clean the nozzle and tube thoroughly.

5.Do not leave to dry in the sun
Once we have cleaned and dried our hydration bladder, we will have to leave it in the air to finish drying completely. But do not put it directly in the sun, as it can quickly deteriorate the plastic. So our advice is to hang it in a shady area or inside. You can leave it on a dish drainer for example.
6. A few drops of lemon to neutralize flavors
If, after cleaning your hydration bladder, you notice that the water still tastes like plastic, we suggest that when you fill it with water you add a few drops of lemon, which will add a slight citrus flavour to the water without it becoming cloying, and you will manage to eliminate the plastic flavour.

If you get used to cleaning your hydration bladder on a regular basis you will multiply its life span and keep unwanted flavours away. The same recommendations can be applied to the cycling jerry cans.
También puede interesarte
Nutrition
Benefits of not drinking a drop of alcohol
Mountain bike
Puncture-proof SmartMousse for mountain bike, do you need it?
Road
Peter Sagan is still the highest paid cyclist in 2020 : list of the 10 top cyclists who earn the most
Bike Equipment
Tips for choosing cycling shoes and Mountain Bike shoes: size, model, sole...
Mountain bike
Strava presents Routes, a tool to discover new itineraries
Road