Check your bike in M
They say that prevention is better than cure. And in the world of bikes, that is especially true. If you have ever been stranded halfway through a ride due to a breakdown that could have been avoided, you know it perfectly. To prevent that from happening and causing so much anger, there is a very simple method: check your bike in M every now and then. It is a quick maintenance system, in 5 steps, that will help you detect problems and anomalies.

What is the 'M' check? The simplest and quickest way to check your mountain bike or road bike
As you may have guessed, the name of this technique (M-check, in English) is due to the shape it 'draws' on the bike. Essentially, it starts at the front wheel, goes up to the handlebars, goes down to the pedals and transmission, goes back up to the saddle, and goes back down to the rear wheel.
Easy to remember, right? Well, now let's see step by step what you should do at each of these points.
RECOMENDADO

How to choose the right crankset and cassette: a guide to find the right ratio and extend the life of your bike

Can I go cycling with the flu or a cold?

He invented the idea of jumping over the planks, which earned him a World Championship against Van der Poel

How to change the pedals of any bike in 5 steps

Is it possible to do base training when time is short?

Is it a good idea to go out for a ride with a hangover? A new study claims that it is

- Front wheel: check that it is properly mounted and that the hub is not damaged, by pressing the brake and trying to move it from side to side. Do a visual check of the tire to see if there is any visible damage and check that the pressure is correct. At this point, you can also check that the brake pads will not wear out during the ride and touch the spokes to see if they all have more or less the same tension.
- Handlebars: check that it is straight and tight. For the latter, fix the wheel between your legs and try to turn the handlebars. If it moves, you will need to tighten it a bit more, but be careful with the tightening torque if it is carbon. Do the same with the brake levers, shift levers, or any remote suspension control you have installed.
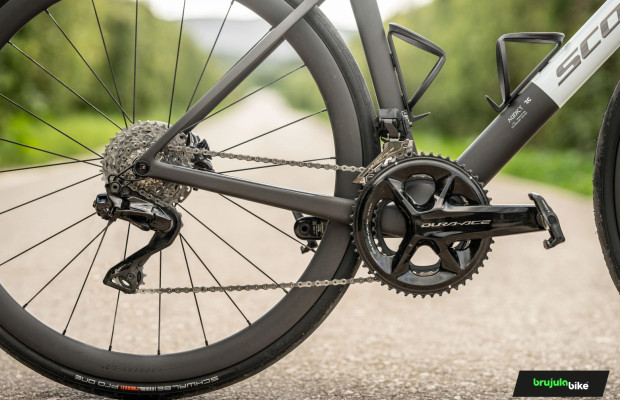
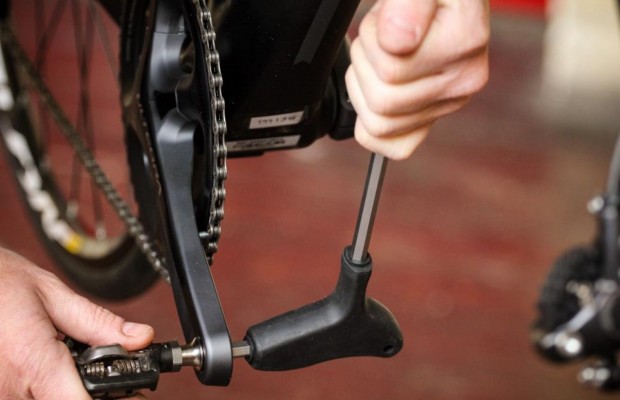
- Pedals and chainrings: turn the pedals to make sure they rotate smoothly without any strange noises. Then, with them in a vertical position (one up, one down) and the brakes engaged, pull them down to check the health of the bottom bracket. If there is movement, you will likely need to replace it. Check the teeth of the chainrings, in case any of them are very worn.
- Saddle and seatpost: try to move the saddle from side to side (if it is securely fixed, you won't be able to) and check that the height of the seatpost has not changed (you can do this with a small adhesive mark on the seatpost). If your bike is full suspension, check that the bearings work well and do not make any noise. And, while you're in the area, take a look at the frame, make sure there are no cracks in the carbon, and everything is in order around the welds in the aluminum. If you find any cracks, no matter how small, take your bike to the shop.
- Rear wheel: repeat the operations you carried out with the front wheel, and then move on to the chain and cogs. If they are clean and well lubricated (without overdoing it), and without signs of rust, lift the wheel and change the gear while turning the pedals.
And we're done. This check will only take you a few minutes if you do it regularly, and we recommend that you do not do it just before going out for a ride, as if you find any anomalies you won't have time to fix them. So it's best to do these checks just after washing the bike after a ride, this way you'll be sure it's ready for the next one.