Emergency mechanics to get home if your derailleur breaks down
Breaking the derailleur or the hanger that holds it to the frame is one of the most scandalous breakdowns we can suffer in the middle of a route. If we find ourselves in this situation we can still get home without having to resort to the wildcard of a call for someone to come and pick us up. After all, we should be as self-sufficient as possible on our outings.

How to get home when the derailleur breaks
A derailleur or hanger break is unlikely to happen but it is not ruled out if we suffer a fall or a snag, especially if we practice disciplines such as gravel or mountain biking where the material is more abused.
When this happens, the first reaction is usually to throw our hands up in despair and, after lamentations and anger, start walking to the first civilized place where a family member or friend can come and pick us up. However, it's a bad situation if it happens in an area far from roads or towns, so it's better to have the necessary resources to be able to solve it on the route.
RECOMENDADO
The most reliable method for determining how many calories you burn while cycling
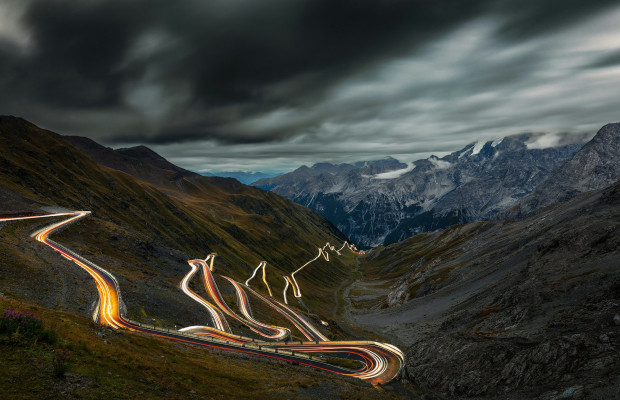
Impossible challenges and cycling legends: The 10 toughest mountain passes on the planet
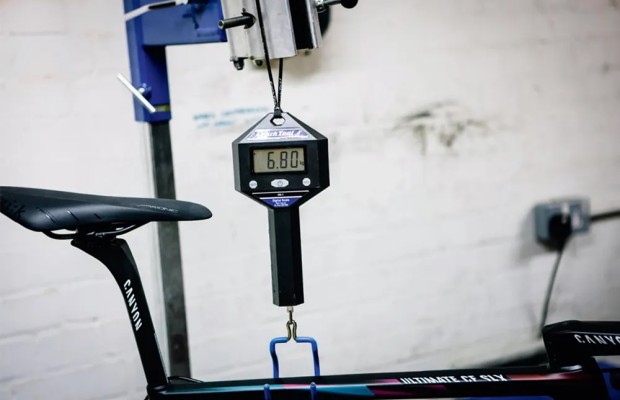
Does the current UCI limit for bicycle weight make sense?

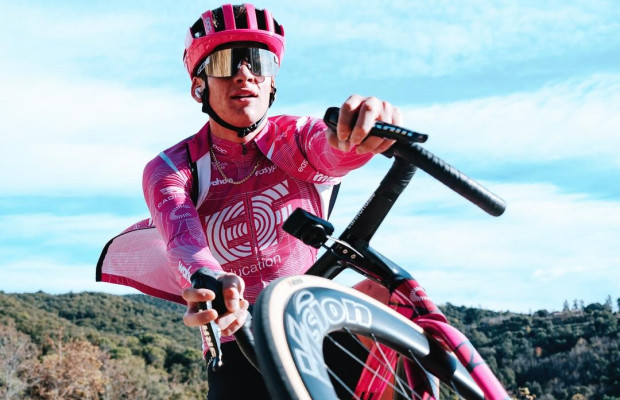
Why do most cyclists wear their glasses outside their helmets?

Time takes its toll, but it doesn't mean you have to stop performing
When everything changes every week: the challenge of training with a logical approach

Touching the transmission is something that usually scares most cyclists, but if we find ourselves in this situation, we better lose the fear. With a simple operation in a few minutes we can be pedaling again, yes, with the chain in a fixed sprocket and, obviously, without the possibility of using the derailleur. It's not the best option but, at least, it will allow us to pedal home or to where we can be picked up.
Simple operation
With the derailleur or hanger broken we have no choice but to put the chain in singlespeed mode, that is, remove it from the derailleur and make it only pass through a chainring and sprocket. Almost all current chains have a quick link to open and close them which is very useful when assembling or for deep cleaning at home. However, opening the quick link is not an easy task in the middle of the field as the specific pliers to do it is not something that is usually carried or included in multi-tools.

Even if we had it, it will also be necessary to shorten the length of the chain so that it is as tight as possible in the chosen combination and does not come off. This forces us to use the chain breaker, an essential tool in any worthy multi-tool that we should consider when buying one.
Essentially it is a small screw with a rod and a housing for the chain that allows to extract the pin that keeps a link together to break the chain and be able to remove it from the derailleur and the frame.
Unless we have a spare quick link, the technique to open and shorten the chain will be as follows:
- With the chain breaker we extract a pin, but taking care not to remove it completely from the outer link as if we do it will be practically impossible to put it back. To do this, we will operate the chain breaker screw progressively and, as a reference, when we notice a point of hardness again we should stop. If we have removed it enough, we can separate the chain easily while the pin remains in the outer plate where we have opened.
- The next step will be to measure the chain in the chosen gear. Although our head asks us for a smooth gear to be on the safe side, the optimal option will be to choose a combination in which the chain goes as straight as possible, in this way we reduce the risk of it coming off. This is because, by passing the chain directly through the chainring and sprocket we no longer have a system that keeps it tight. If the chain is crossed, with the force of pedaling and the teeth of the sprocket it is very likely that it will end up falling to lower sprockets and what we want is for it to stay fixed.
- We will adjust the measure as much as possible and open the chain at the end where we do not have the pin that we removed before, taking care to choose the link so that it remains in it the one internal that we can join with the external of the other end. We will act in the same way as before to remove the excess chain.
- The last step will be to rejoin the chain, for this we will place the internal link of one end hooked to the external one that keeps the pin. If we have removed the pin just enough, surely there is still a small portion on the inner face that is enough for the union to remain attached while we place the chain breaker, this time with the screw on the inner side to, finally, operate it again until the pin returns to its place.
- We will do this last step again progressively until we see that on the opposite side the pin is flush with the link. After this, we still have one last operation to do. When joining the chain with a chain breaker, surely that link will have become hard and will not turn, which causes the chain to jump when trying to engage in the teeth. To eliminate the hardness of the link we will lever with our hands laterally until the link gets the necessary play.

In any case, this is still an emergency repair, and the absence of any system that adds tension to the chain means that any bump can easily make it come off, so we have no choice but to ride carefully. If in our tool bag we carry cable ties we can improvise a tensioner with a couple of them that we will attach to the chainstay and with which we will slightly tension the chain. Surely the friction of the chain itself will end up breaking the cable tie but while it lasts it is quite effective in keeping the chain in place.
También puede interesarte
Nutrition
The most reliable method for determining how many calories you burn while cycling
Road
Impossible challenges and cycling legends: The 10 toughest mountain passes on the planet
Road
Does the current UCI limit for bicycle weight make sense?
Road
Why do most cyclists wear their glasses outside their helmets?
Training
Time takes its toll, but it doesn't mean you have to stop performing
Training
