Configure your levers to the millimeter with this guide
The German company Magura has set out to help us with something seemingly so simple. Although in reality, it is not that simple. Magura explains how to install and configure brake levers correctly.
Why it is important to correctly position brake levers
Have you ever considered if your brake levers are correctly installed? Have you wondered if their position and angle are correct? This is not basketball, but here wrists are also very important. Despite how common it seems for cyclists to place them by eye, only with their intuition, Magura has created a guide to do it correctly.
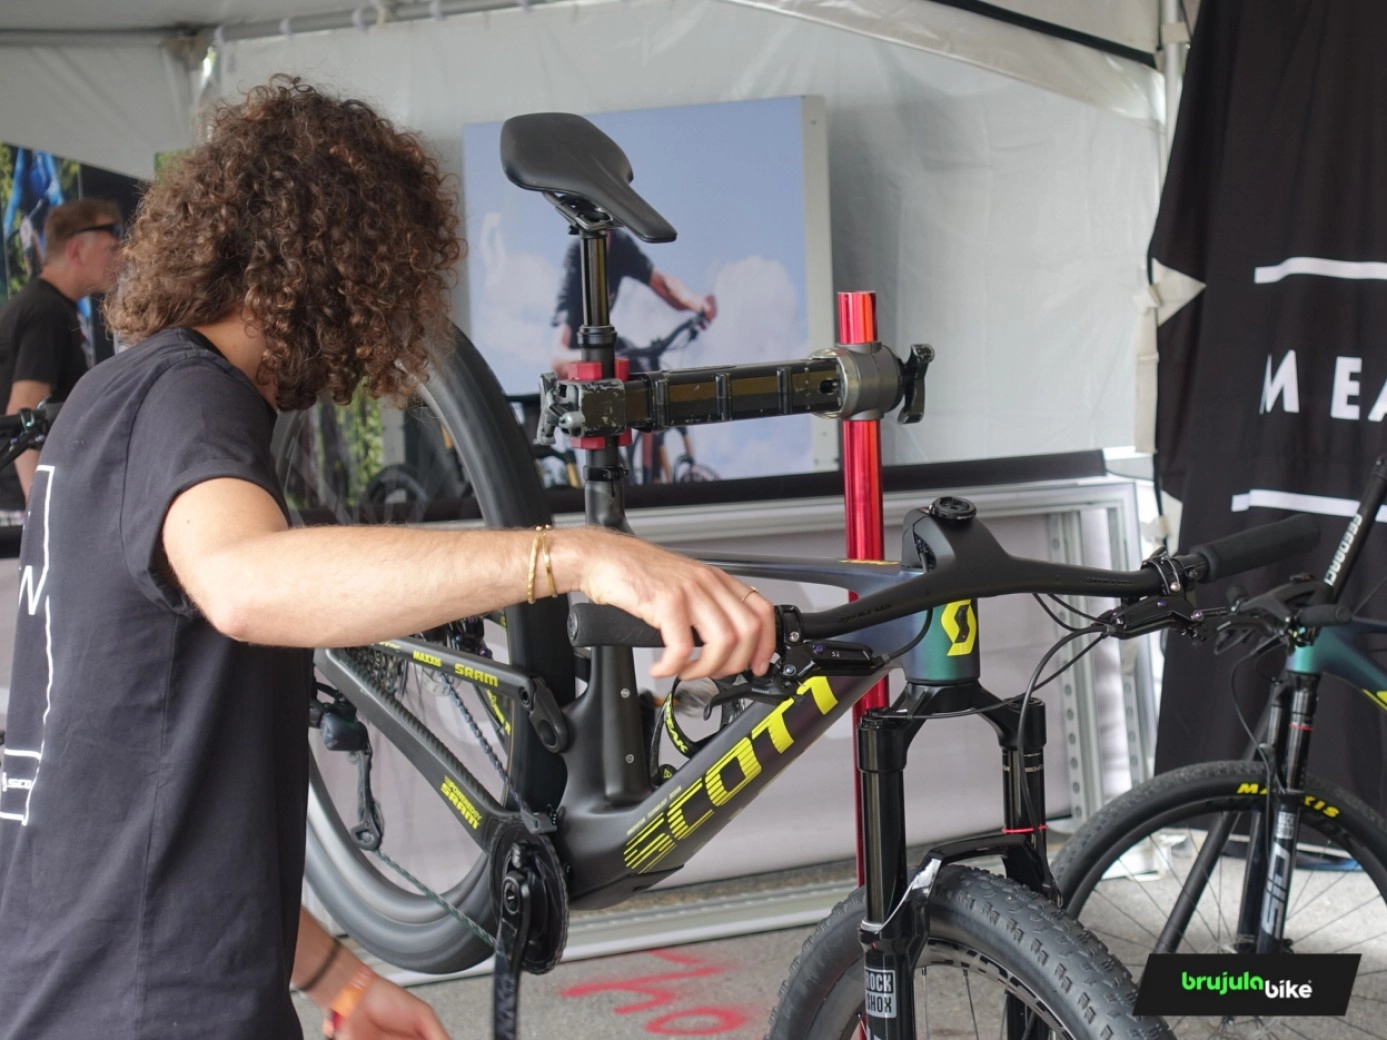
First of all, each person's hand is already different and each wrist is different. So there should not be a standardized position, in fact it does not happen with almost any other component except brake levers. Can you imagine a saddle too high, or a stem longer than necessary? Surely not, you would notice it immediately. But that does not happen with brake levers.
RECOMENDADO

Tips for staying motivated to go out riding when cold, rain or night lurk
How to choose the right crankset and cassette: a guide to find the right ratio and extend the life of your bike

Can I go cycling with the flu or a cold?

He invented the idea of jumping over the planks, which earned him a World Championship against Van der Poel
How to change the pedals of any bike in 5 steps

Is it possible to do base training when time is short?
Incorrect positioning can cause injuries, especially in mountain biking where wrists absorb a lot of vibrations; and also worsen braking efficiency, with the consequent risk.
How the Magura guide works
In the Magura guide (which has been done in collaboration with SQlab), the cyclist is asked to know certain basic information about their brake levers and their braking system in general, mainly how many pistons it consists of and what brake pads are mounted, external elements to the brake levers but that will determine their configuration. But in reality it doesn't matter so much if your discs are 160 or 180 when configuring your brake levers.
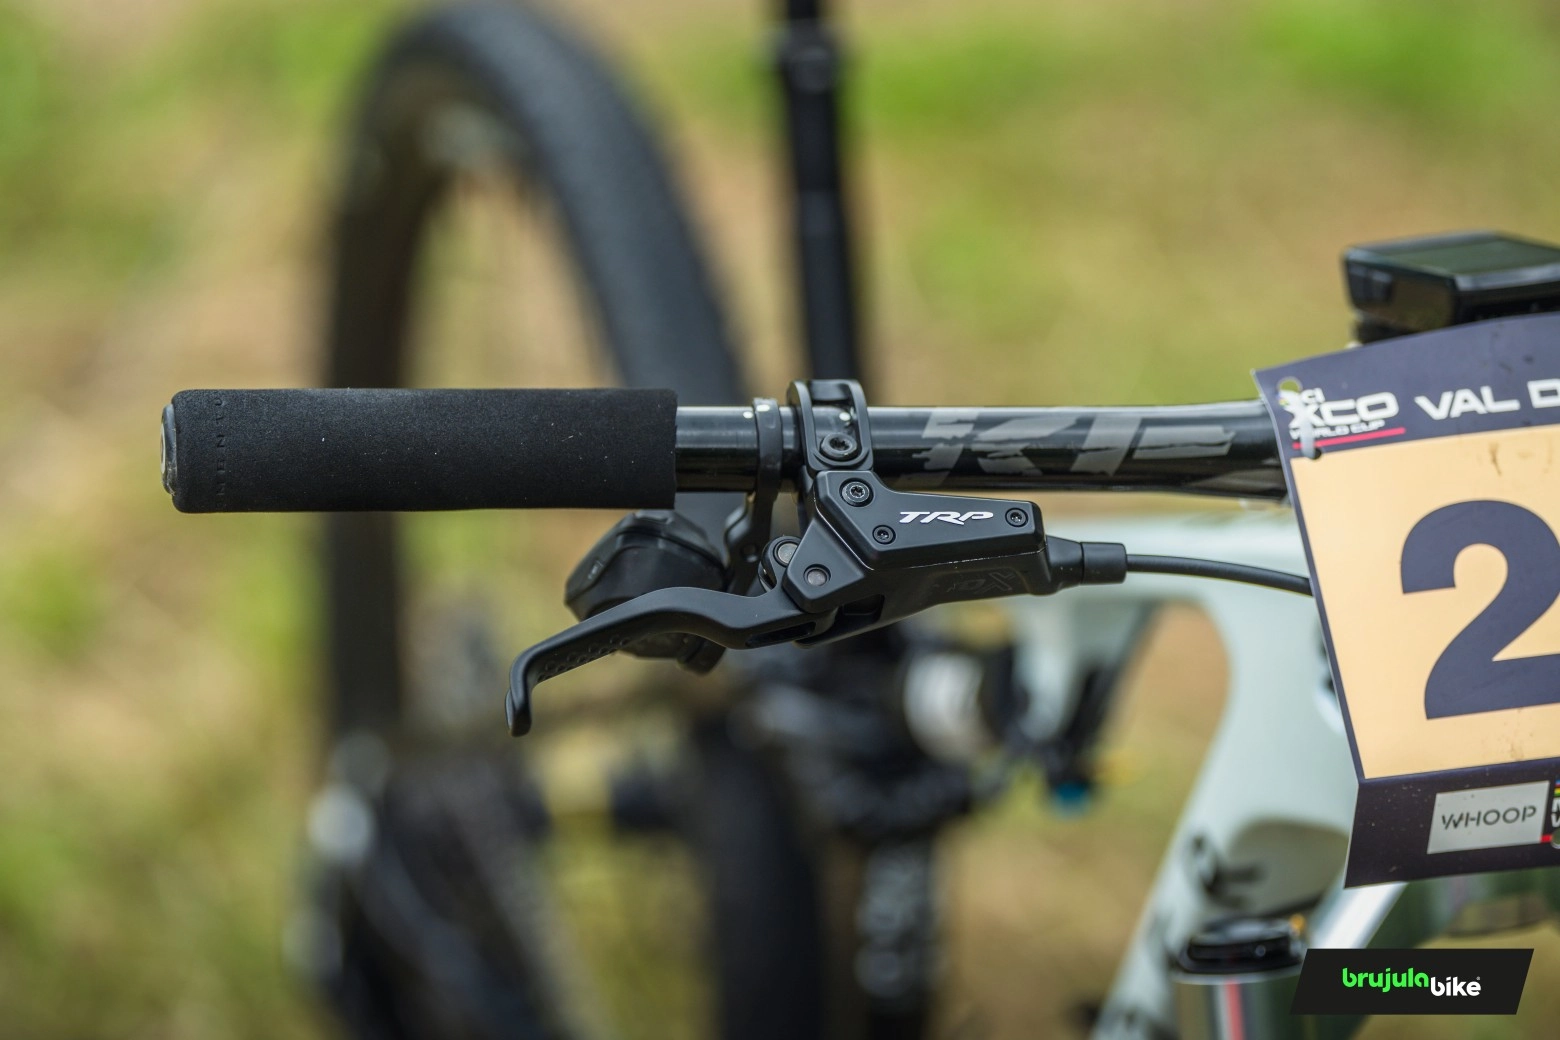
From there, the assembly is summarized in 4 steps:
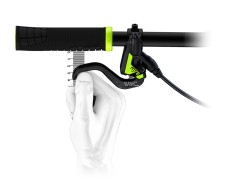
- Position the master brake, which will be the correct position for our anatomy. Thus, we position the hand at the end of the handlebar and stretch the index finger: you should support your third phalanx on the brake lever, or that's what Magura advises us. If you support that third phalanx, the distance is correct and it doesn't matter if you then brake with two fingers.

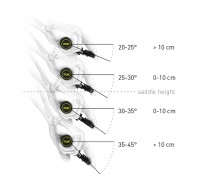
- The factor that cyclists most often ask about is the angle of the brake levers. The angle of the levers would be determined according to Magura by the angle and height of the saddle. Your handlebar must be at its height, and the angle of the levers should be the one that allows you to have straight arms and hands.

- Continuing on the angle of the brake levers, now specifically, to not affect the carpal tunnel nerves, the angle depends on the previous point, the height of your handlebar. Magura's values based on the handlebar height relative to the saddle and the corresponding angle are shown in the image.

- Finally, about the travel of your brake lever, it largely depends on the size of your hand. Magura establishes three sizes, S, M, and L, and a distance for each of them, 2, 3, and 4 centimeters in general.

In this way, configuring your brake levers is simple and you can do it yourself at home thanks to this Magura guide. You can check out the complete guide on the Magura website. You can also learn how to clean your brake pads, and get your bike ready for the next ride.


